
Plexiglass Machining???
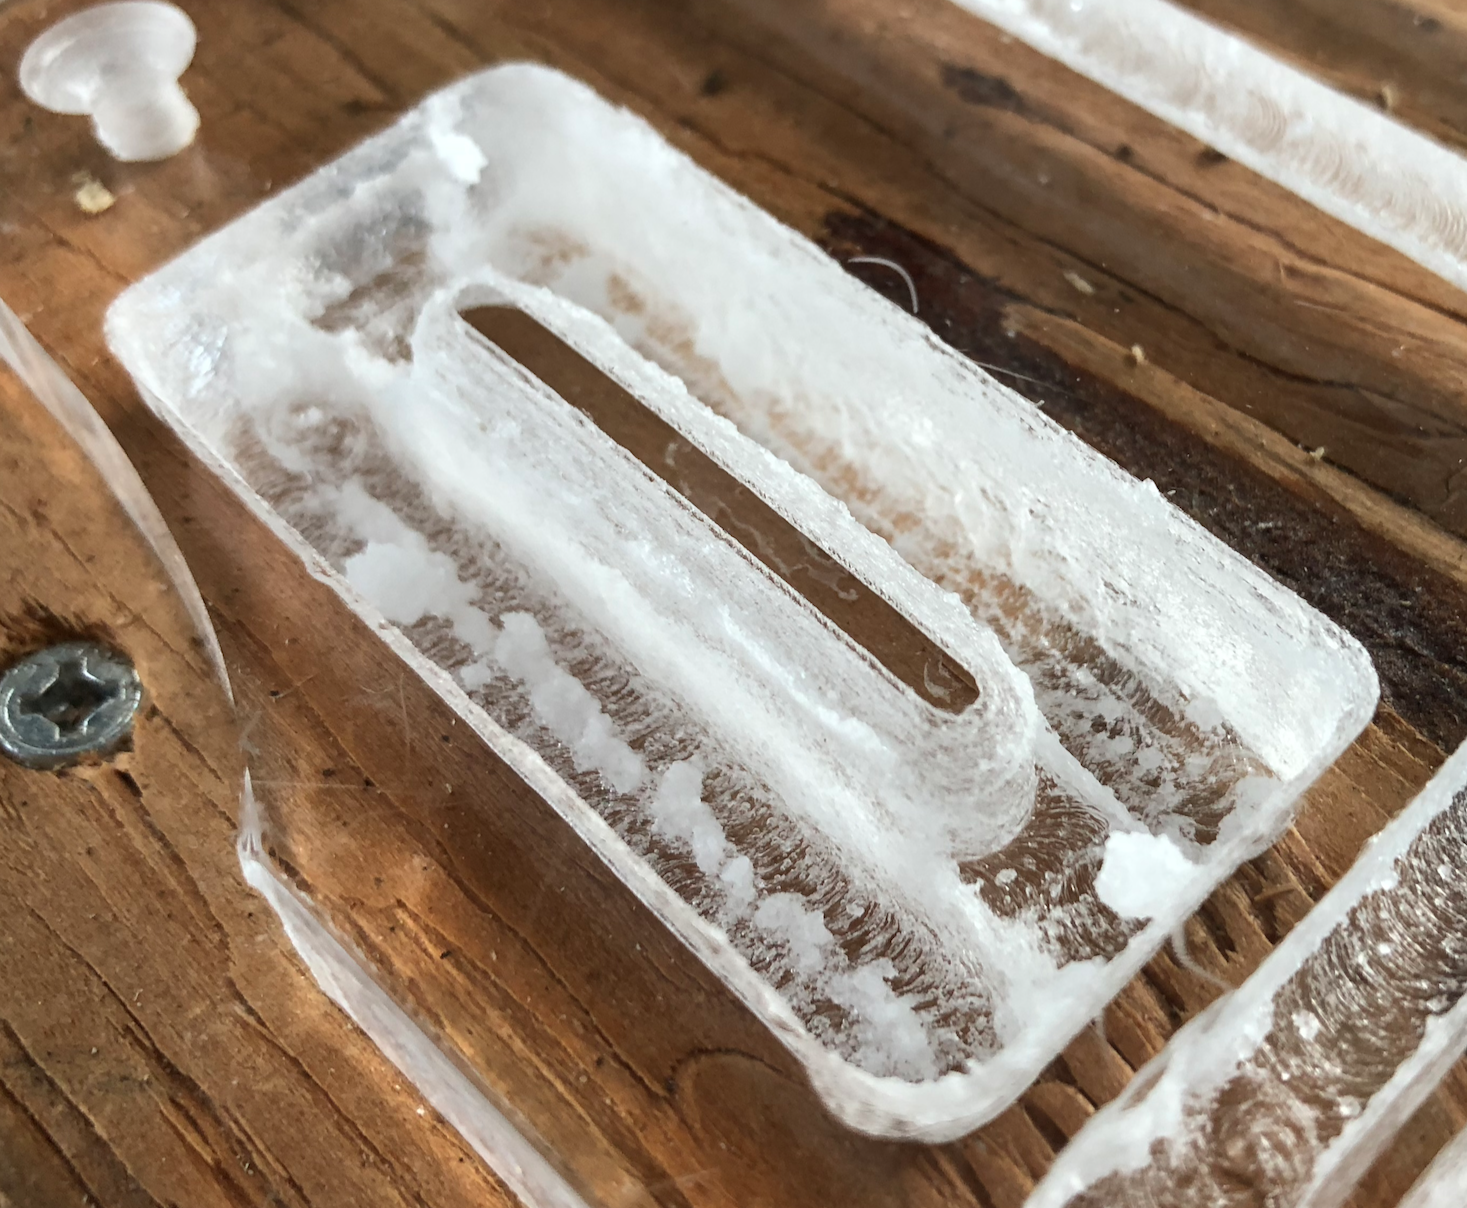
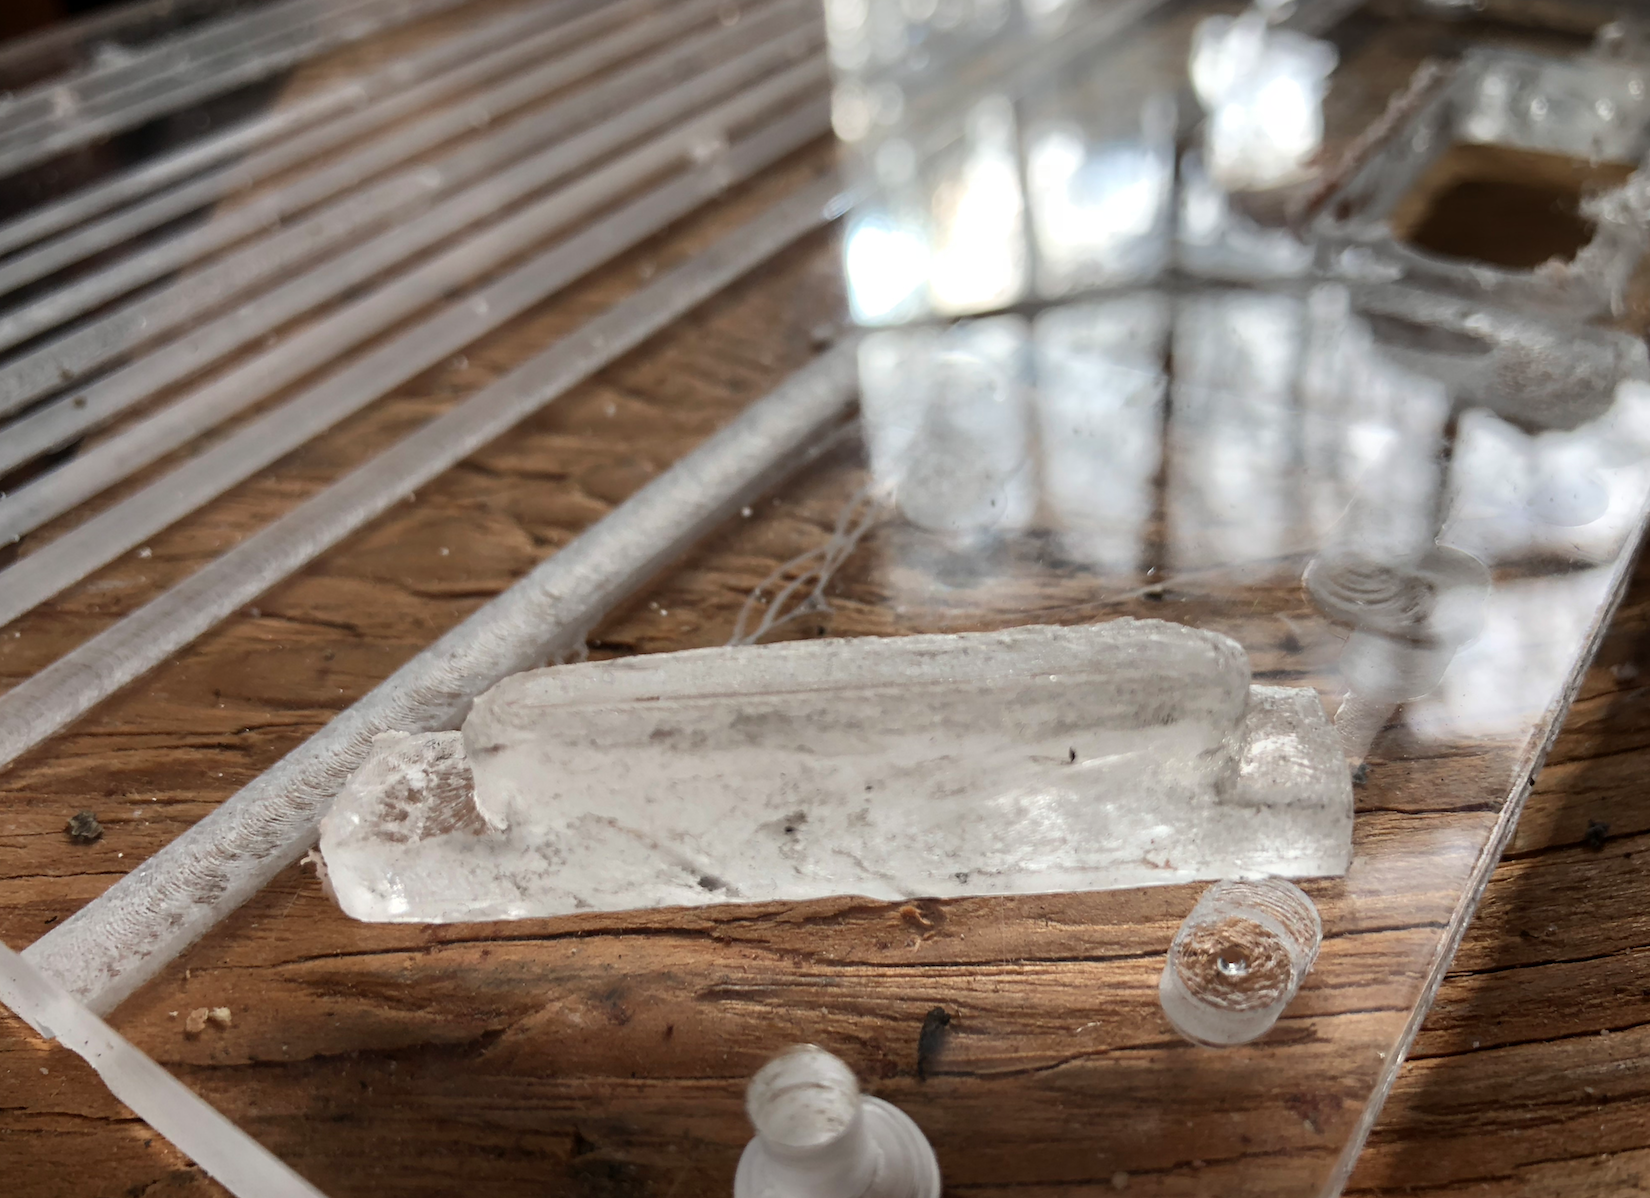
My first approach was to machine the entire plexiglass layer on our CNC router. Not such a good idea, looking back. Plexiglass/acrylic is brittle, and melts easily. I hope to create a page showing the fails, but for now here's a "Twinkle" in plexiglass. It needs some finish work, and that's the main reason I don't like this approach. This one took 20 minutes on the router. I could do better but it would probably take an hour or two, for a single Twinkle.
The first picture shows it before cutting out the bottom. Needs a little more Dremel work and cleanup, but hopefully you get the idea.
Shadow Box:
The shadow box will hold an LED strip, to set it back from the plexi Twinkle. To achieve the neon look, lighting must be smooth, the gap allows the individual LEDs to blend together. But we don't want the LEDs to completely blend, to allow animation effects. I've done some math/trig, and might show it at some point, but since I'm not an optics guy I'll select the gap by experimentation. Here's a 3D print of an LED strip holder and spacer to form the shadow box. The first picture shows the bottom of the spacer below the top of the holder. The second shows the holder flipped over and snapped into the spacer. Third is the completed shadow box with an LED strip inside.
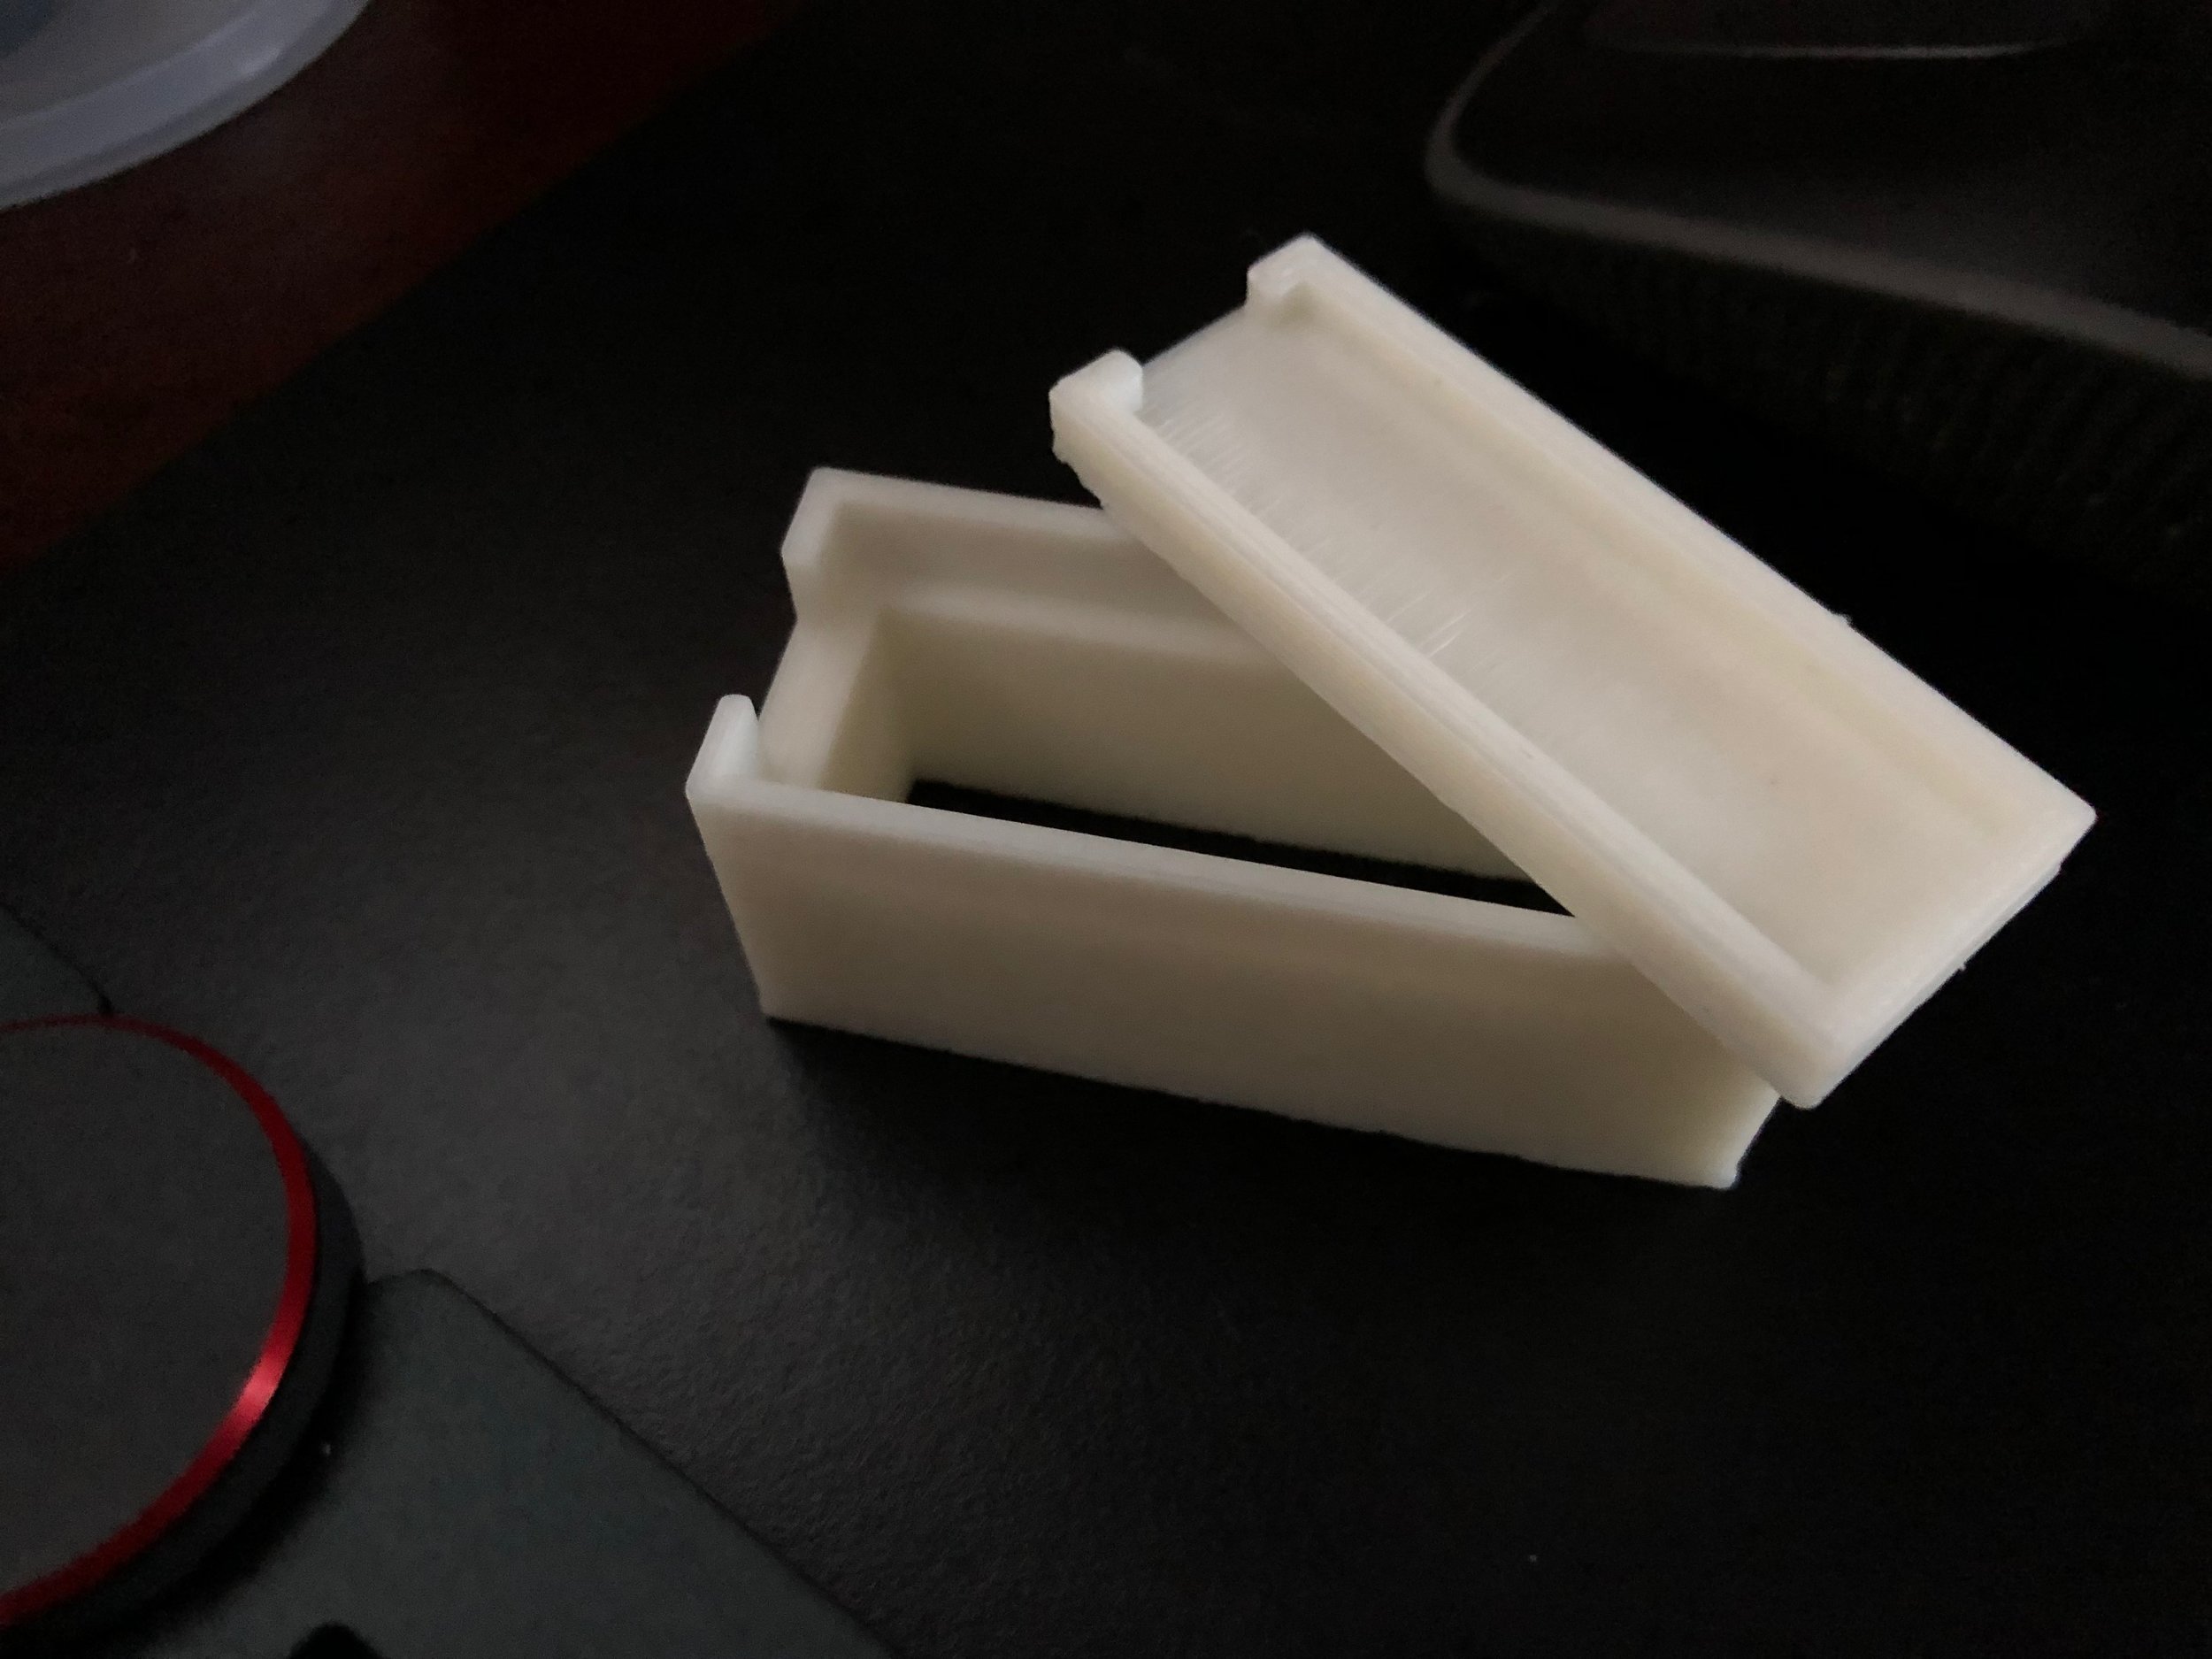

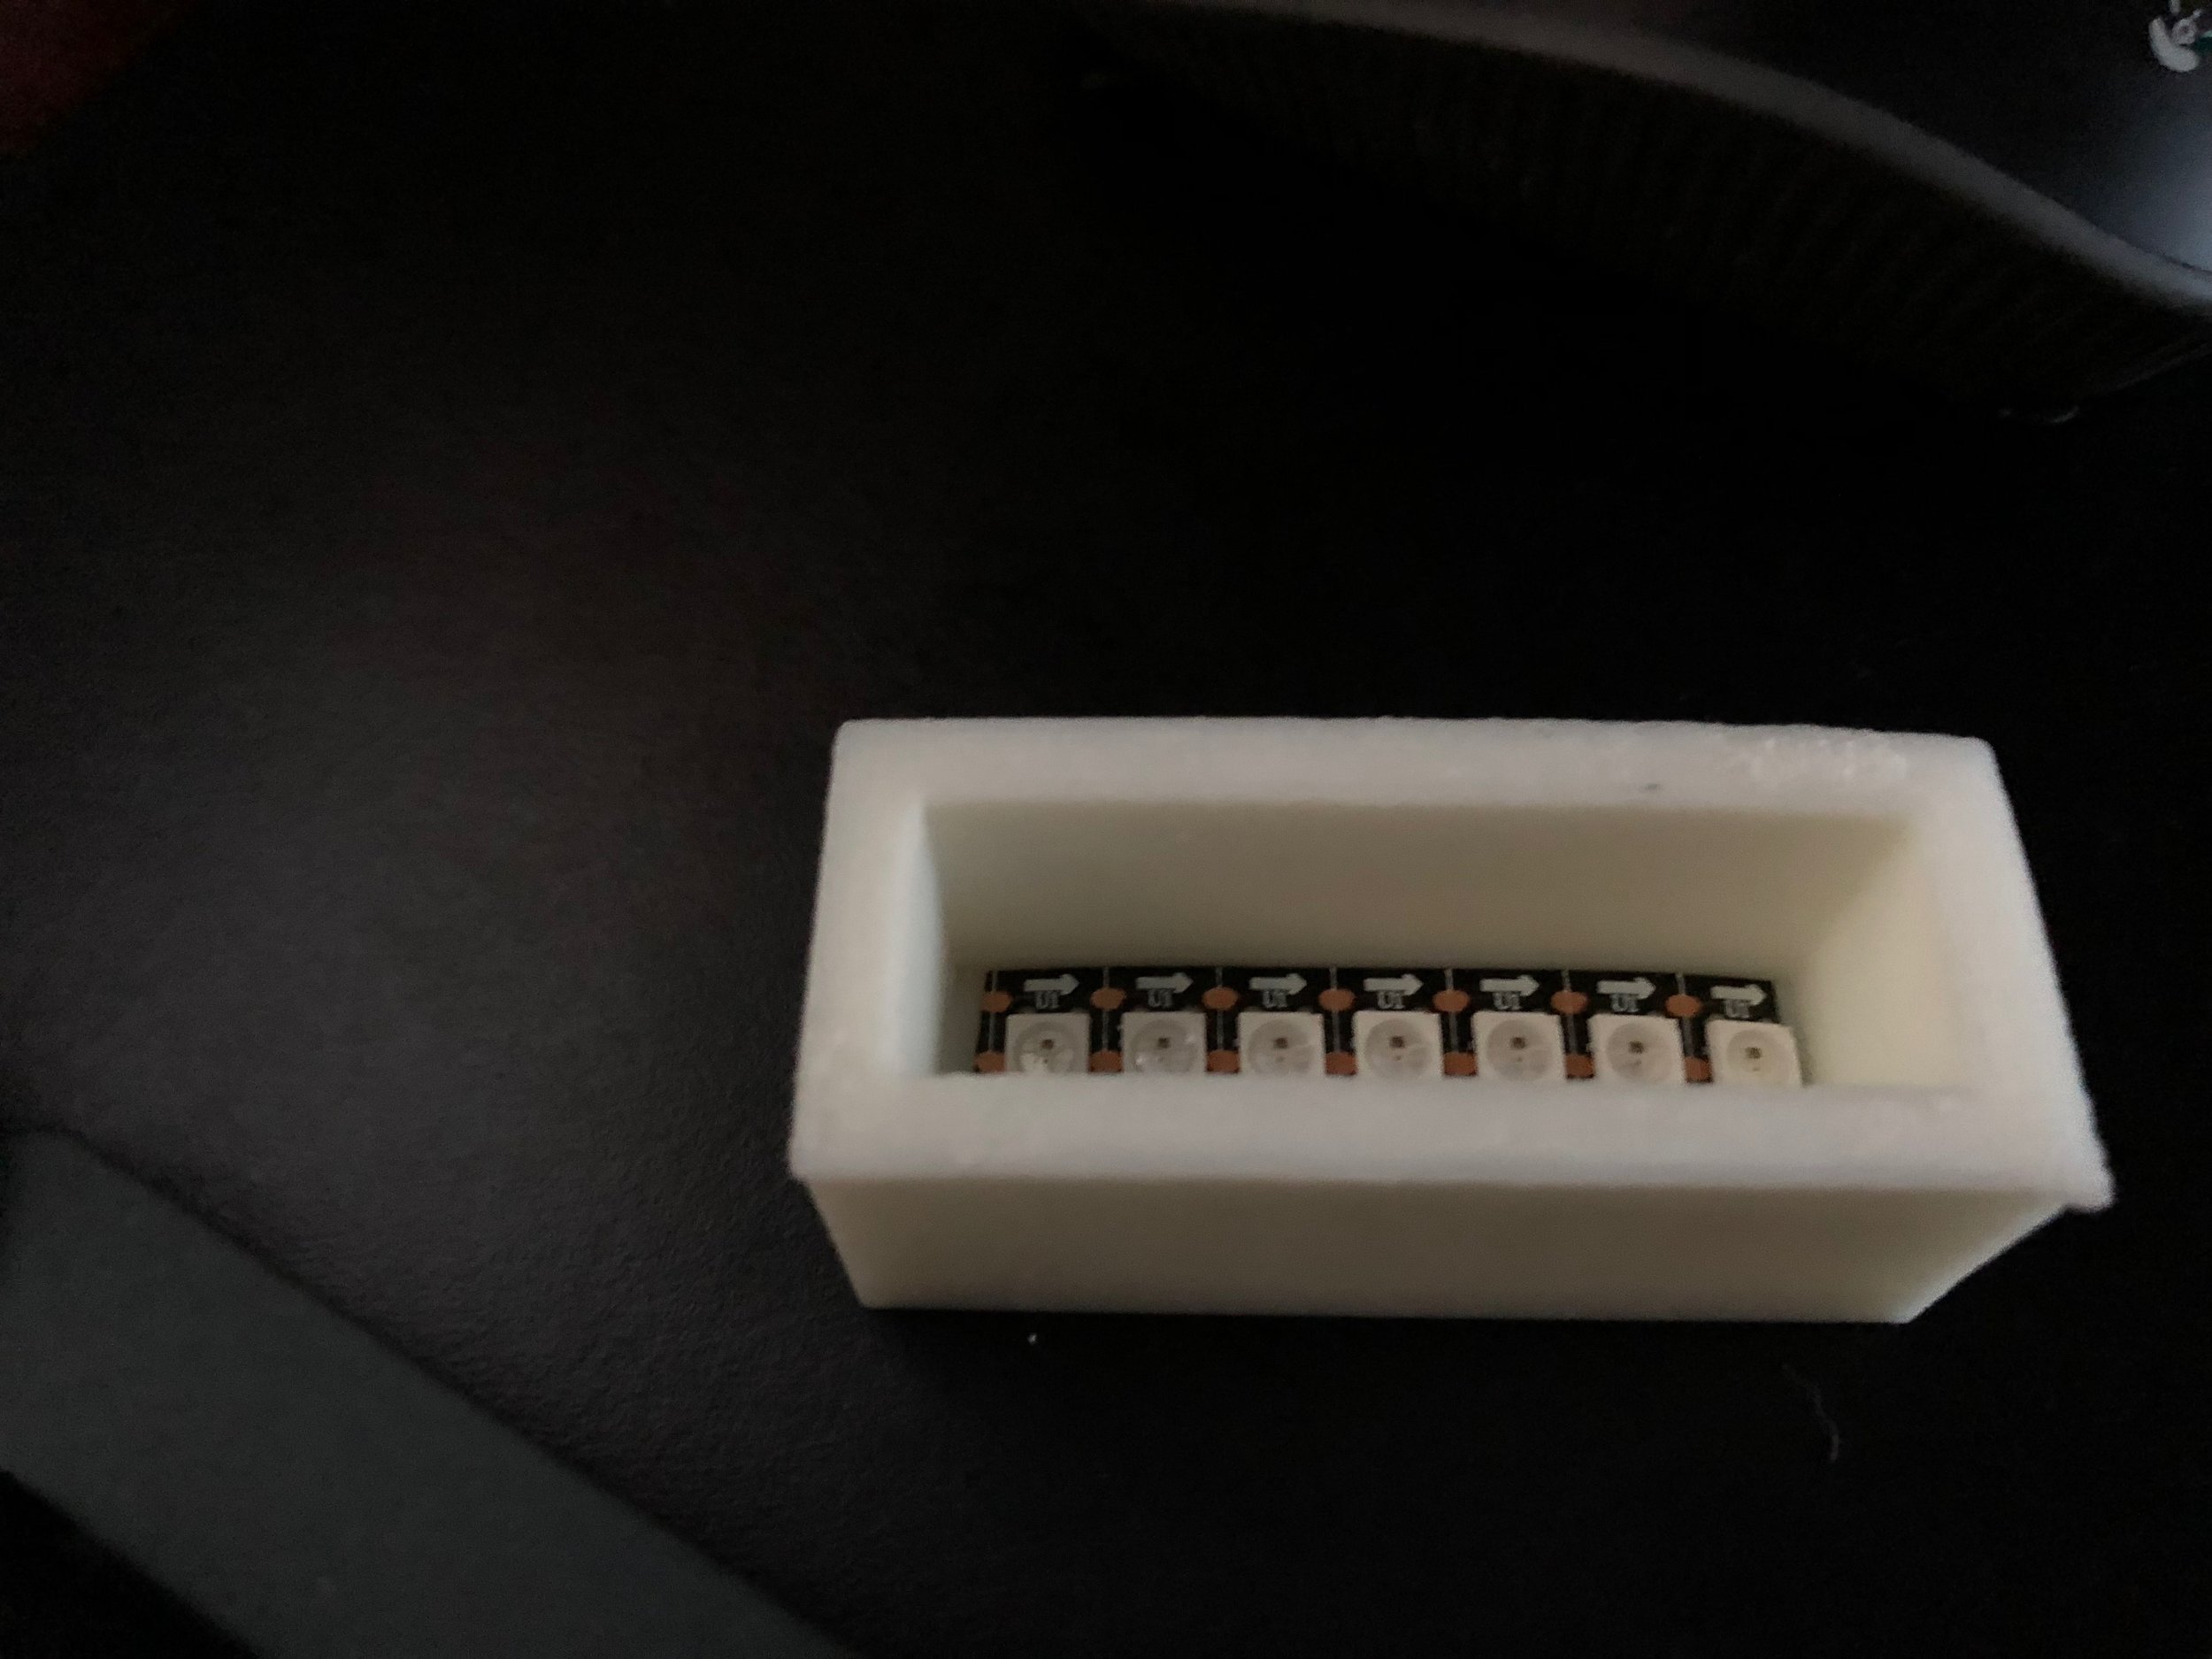
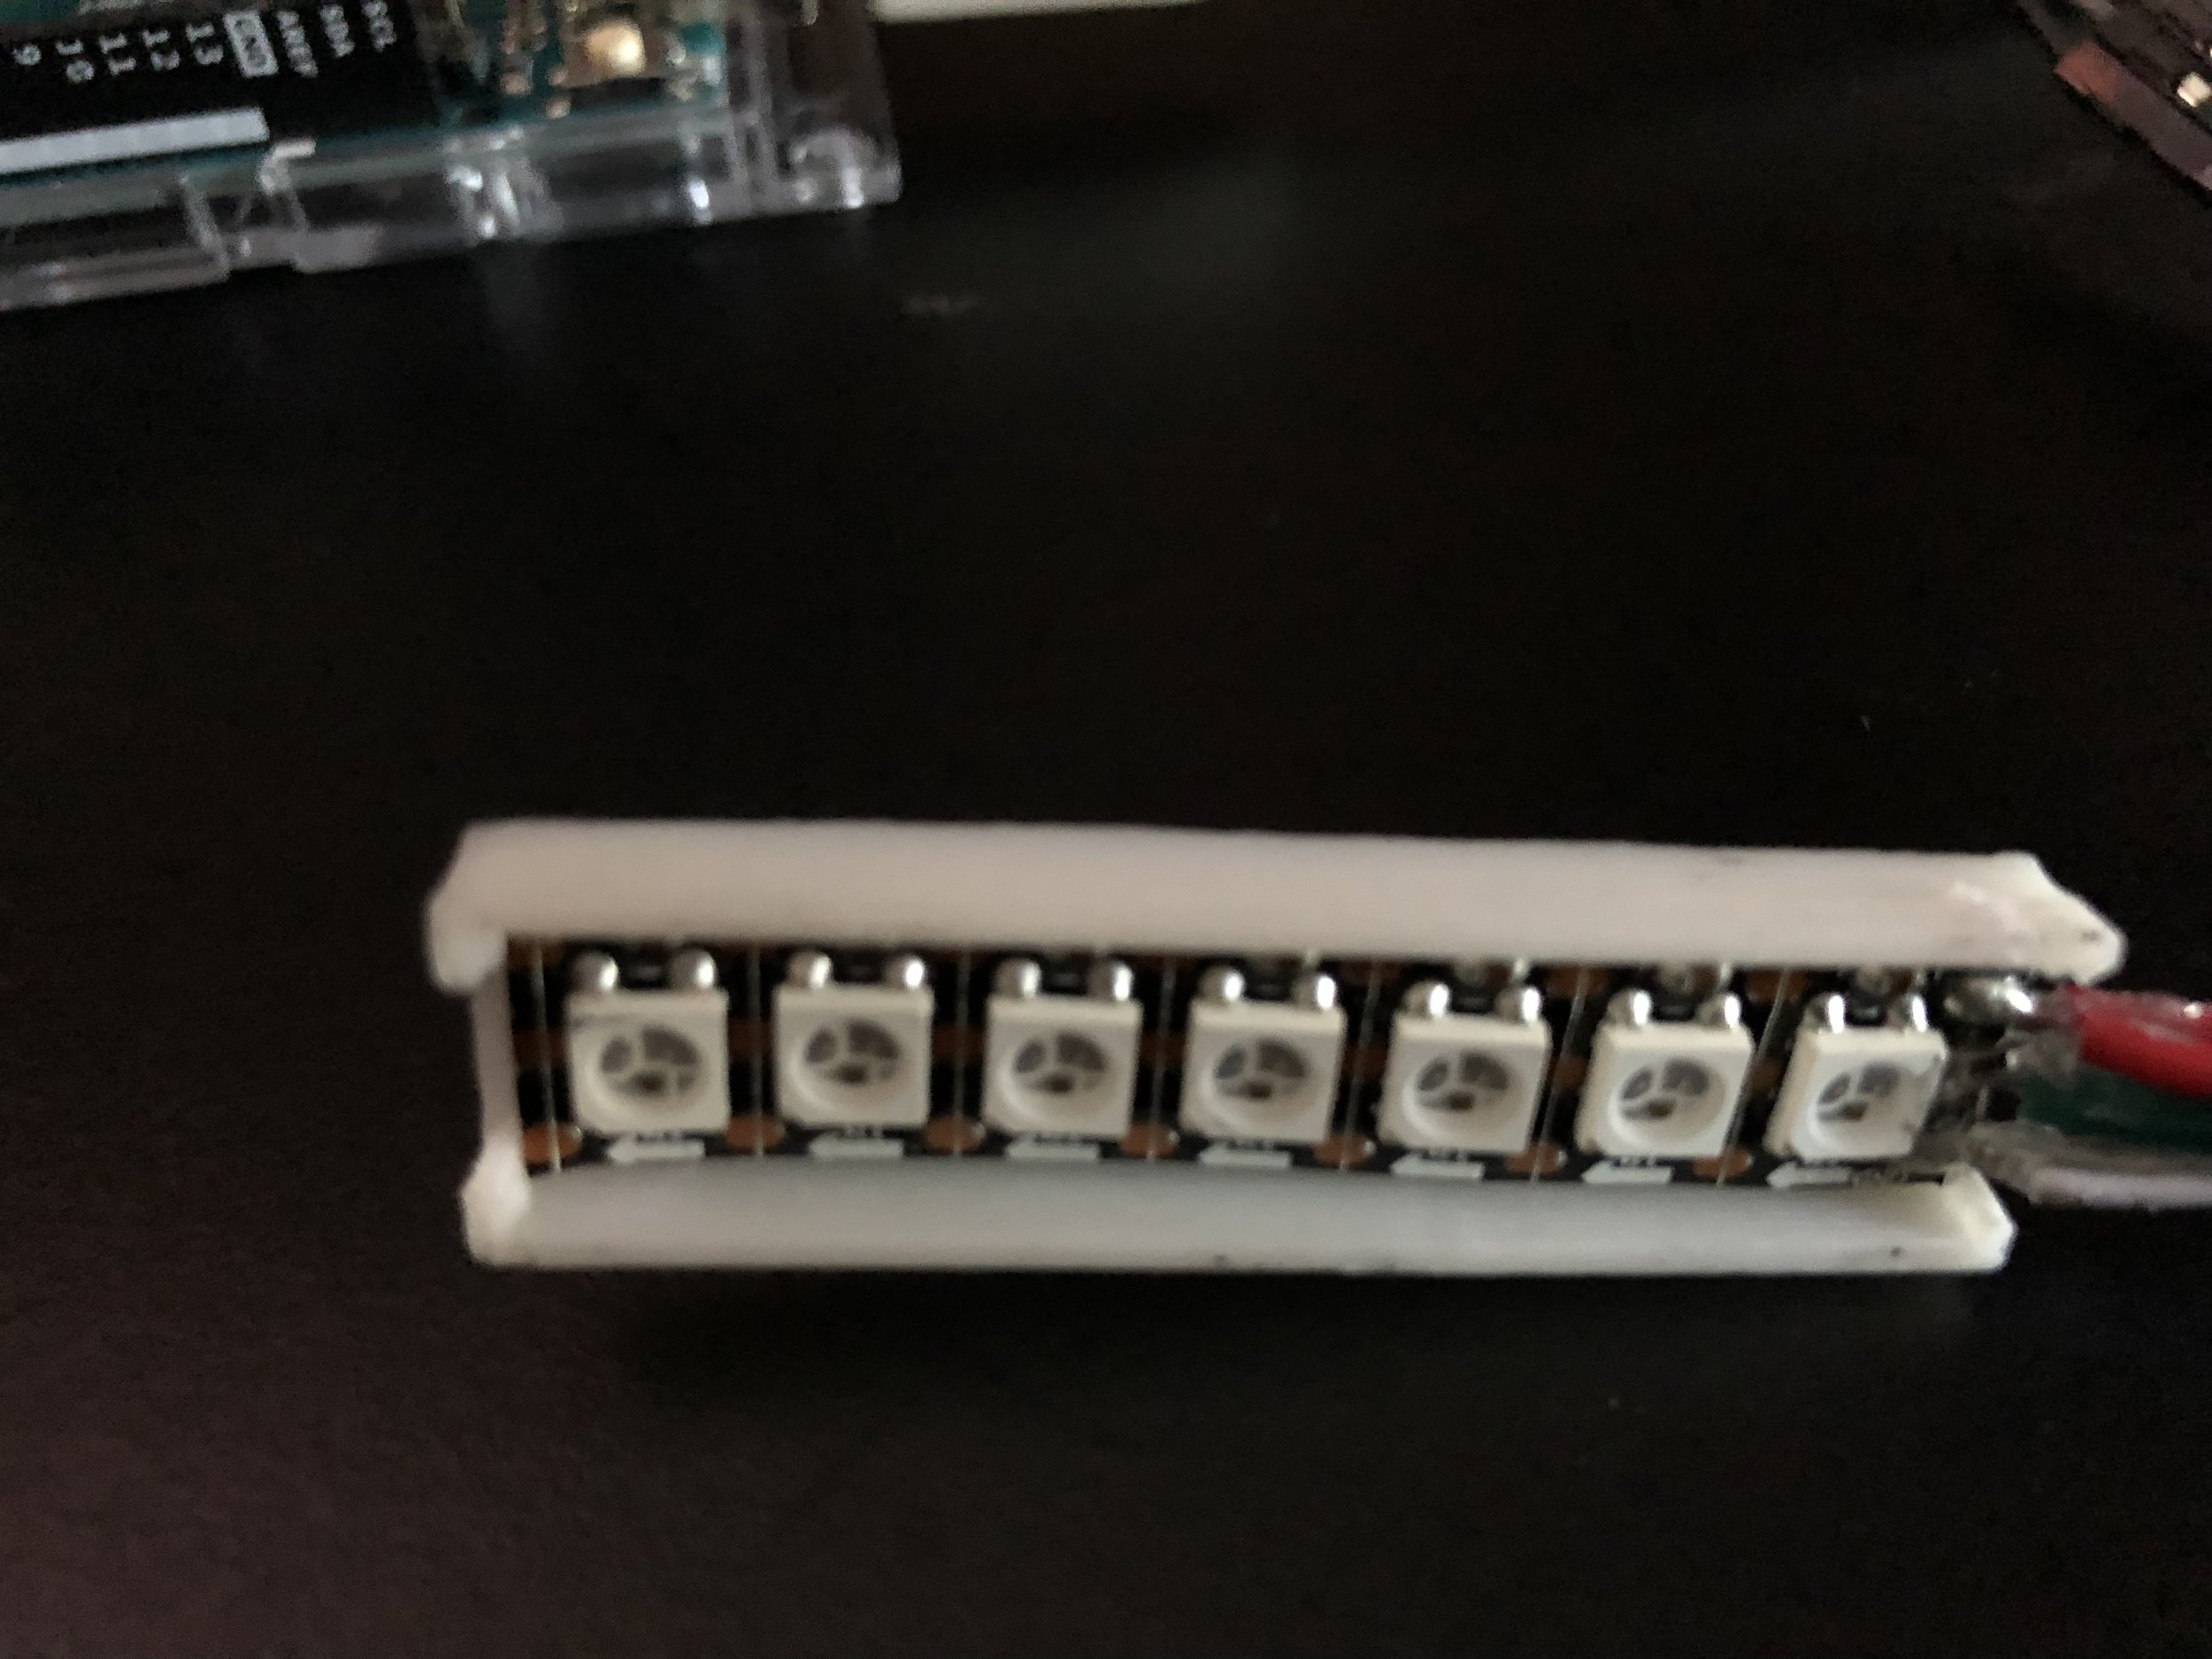
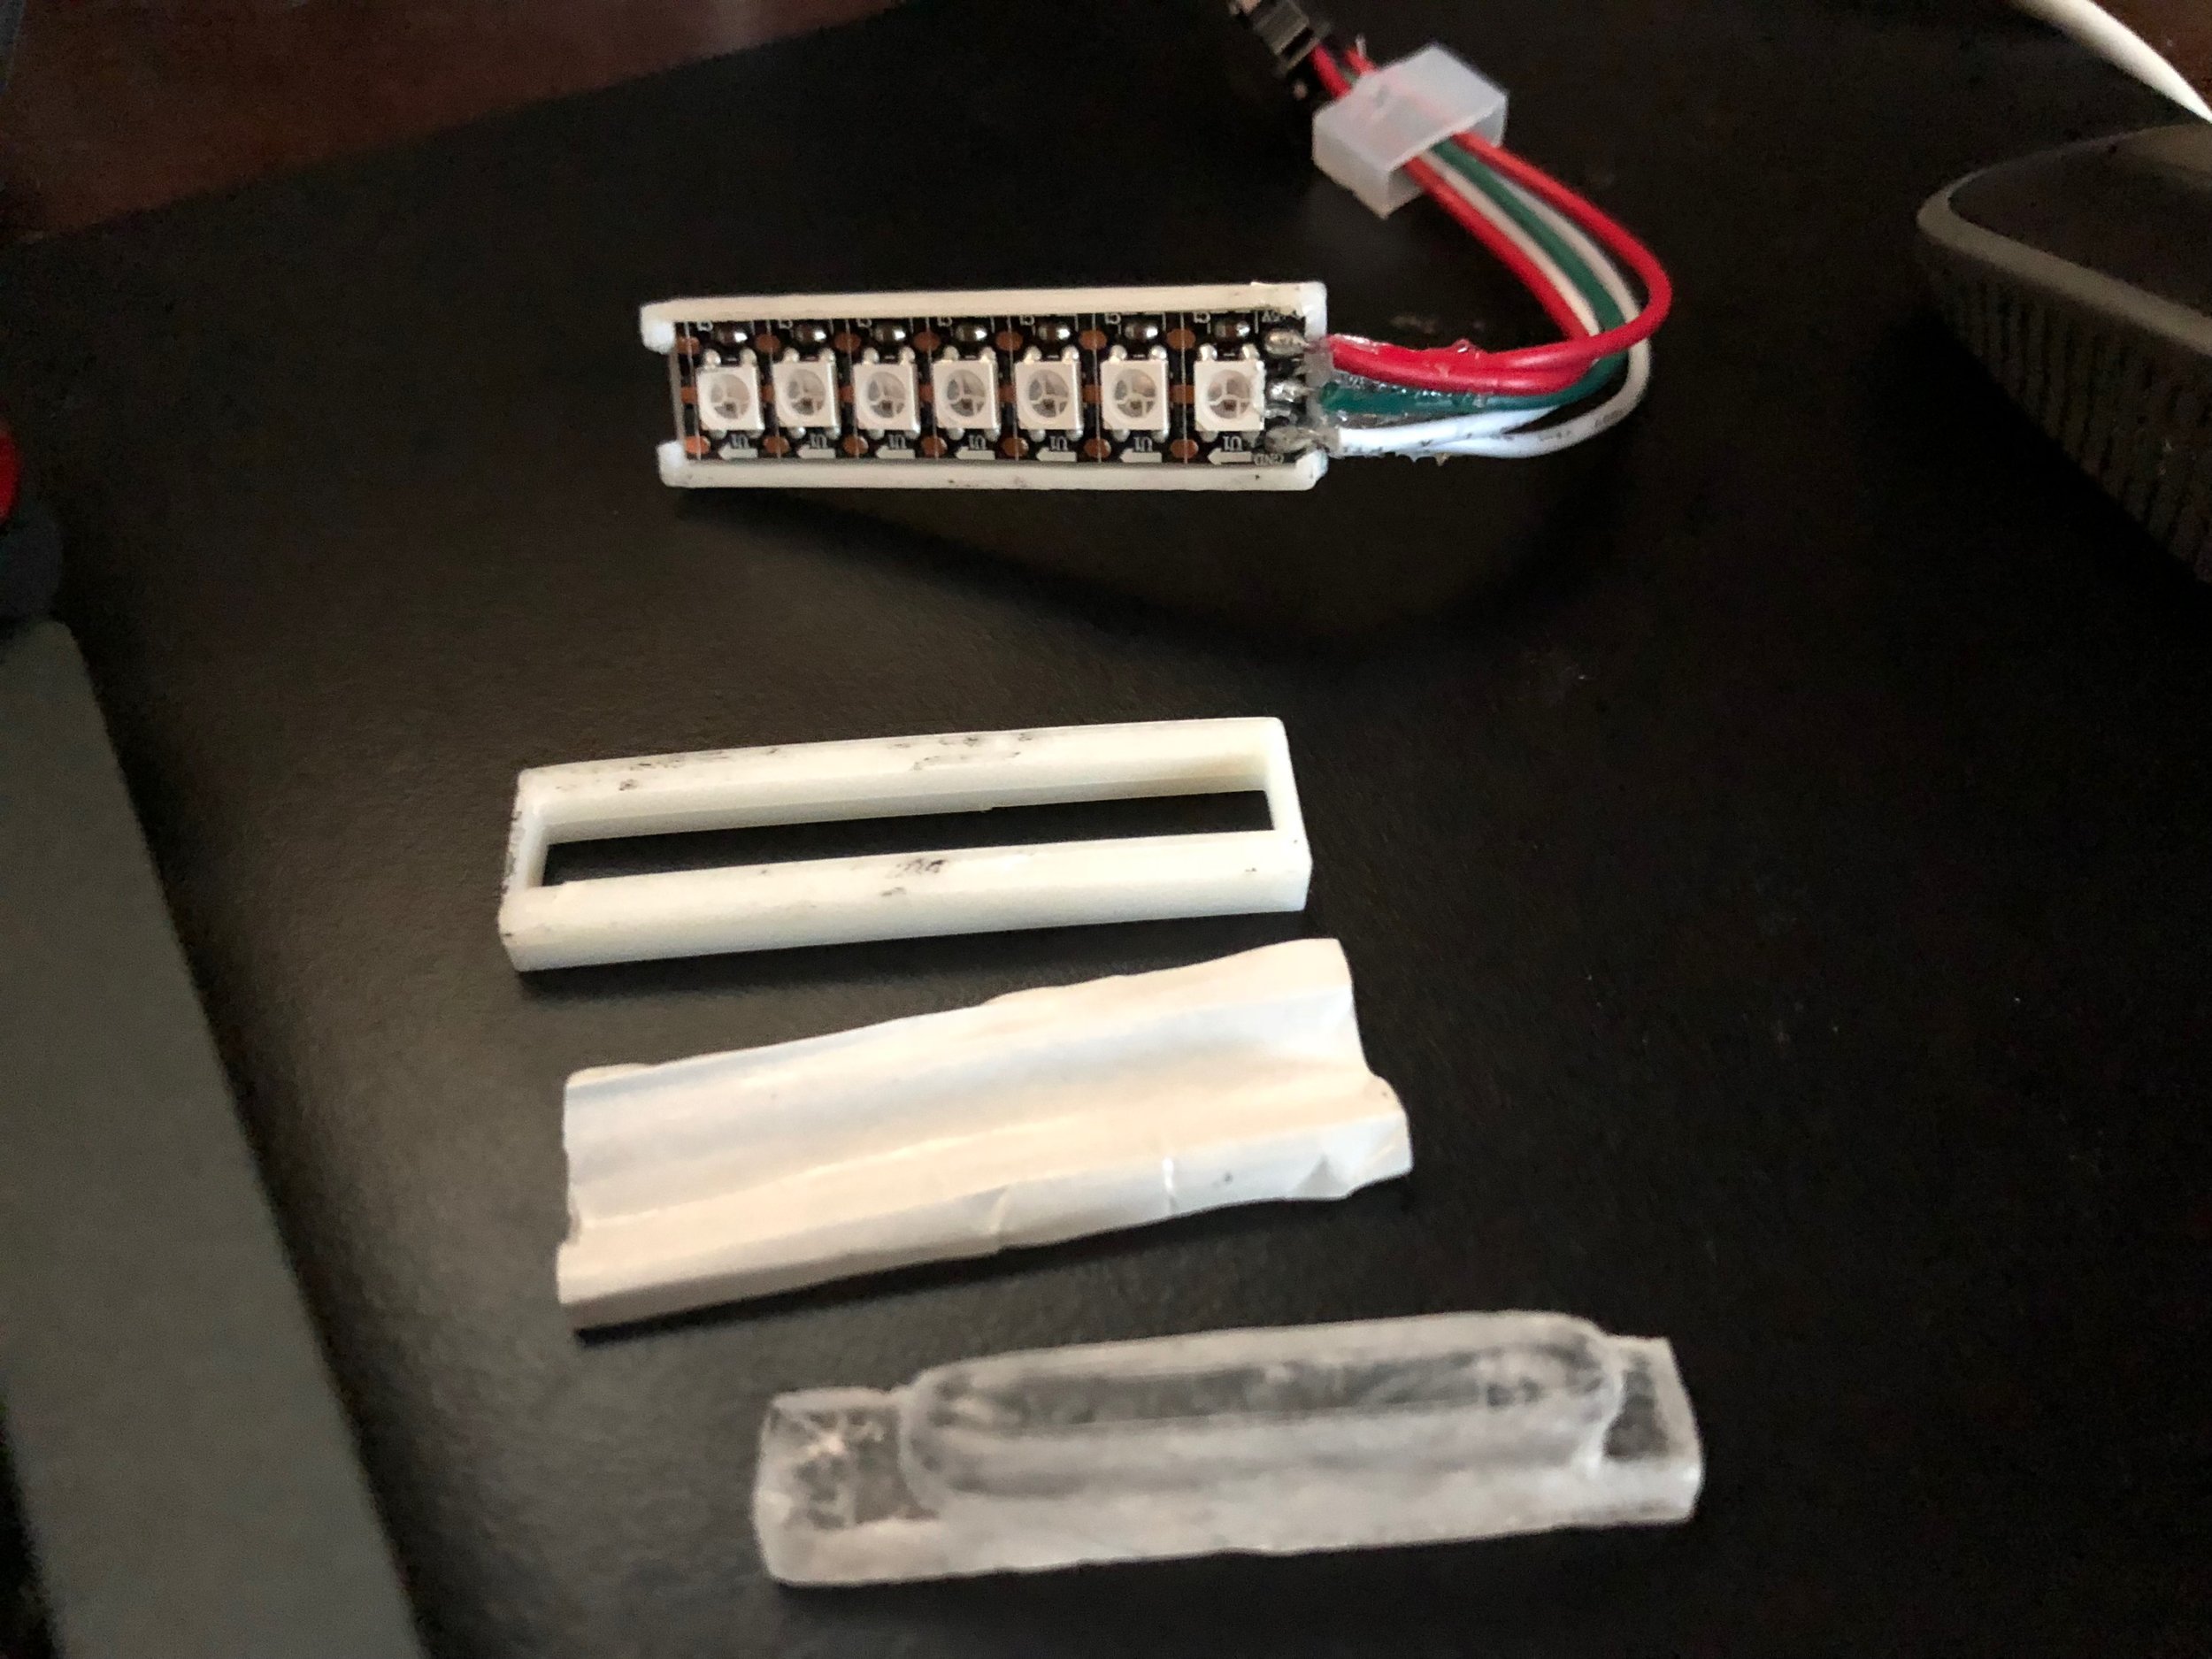
The good news, I've been having trouble with printing ABS plastic, so the layers of the shadow box can be easily separated. So I'll use a razor blade to cut down the spacer until I achieve the desired effect. Here's where I got. The first shows the smaller LED holder with LEDs snapped in. The second shows the whole stackup, from top to bottom: LED holder, spacer, diffusion layer (wax paper) and Twinkle. I fastened them together with electrical tape and plugged it into an Arduino.
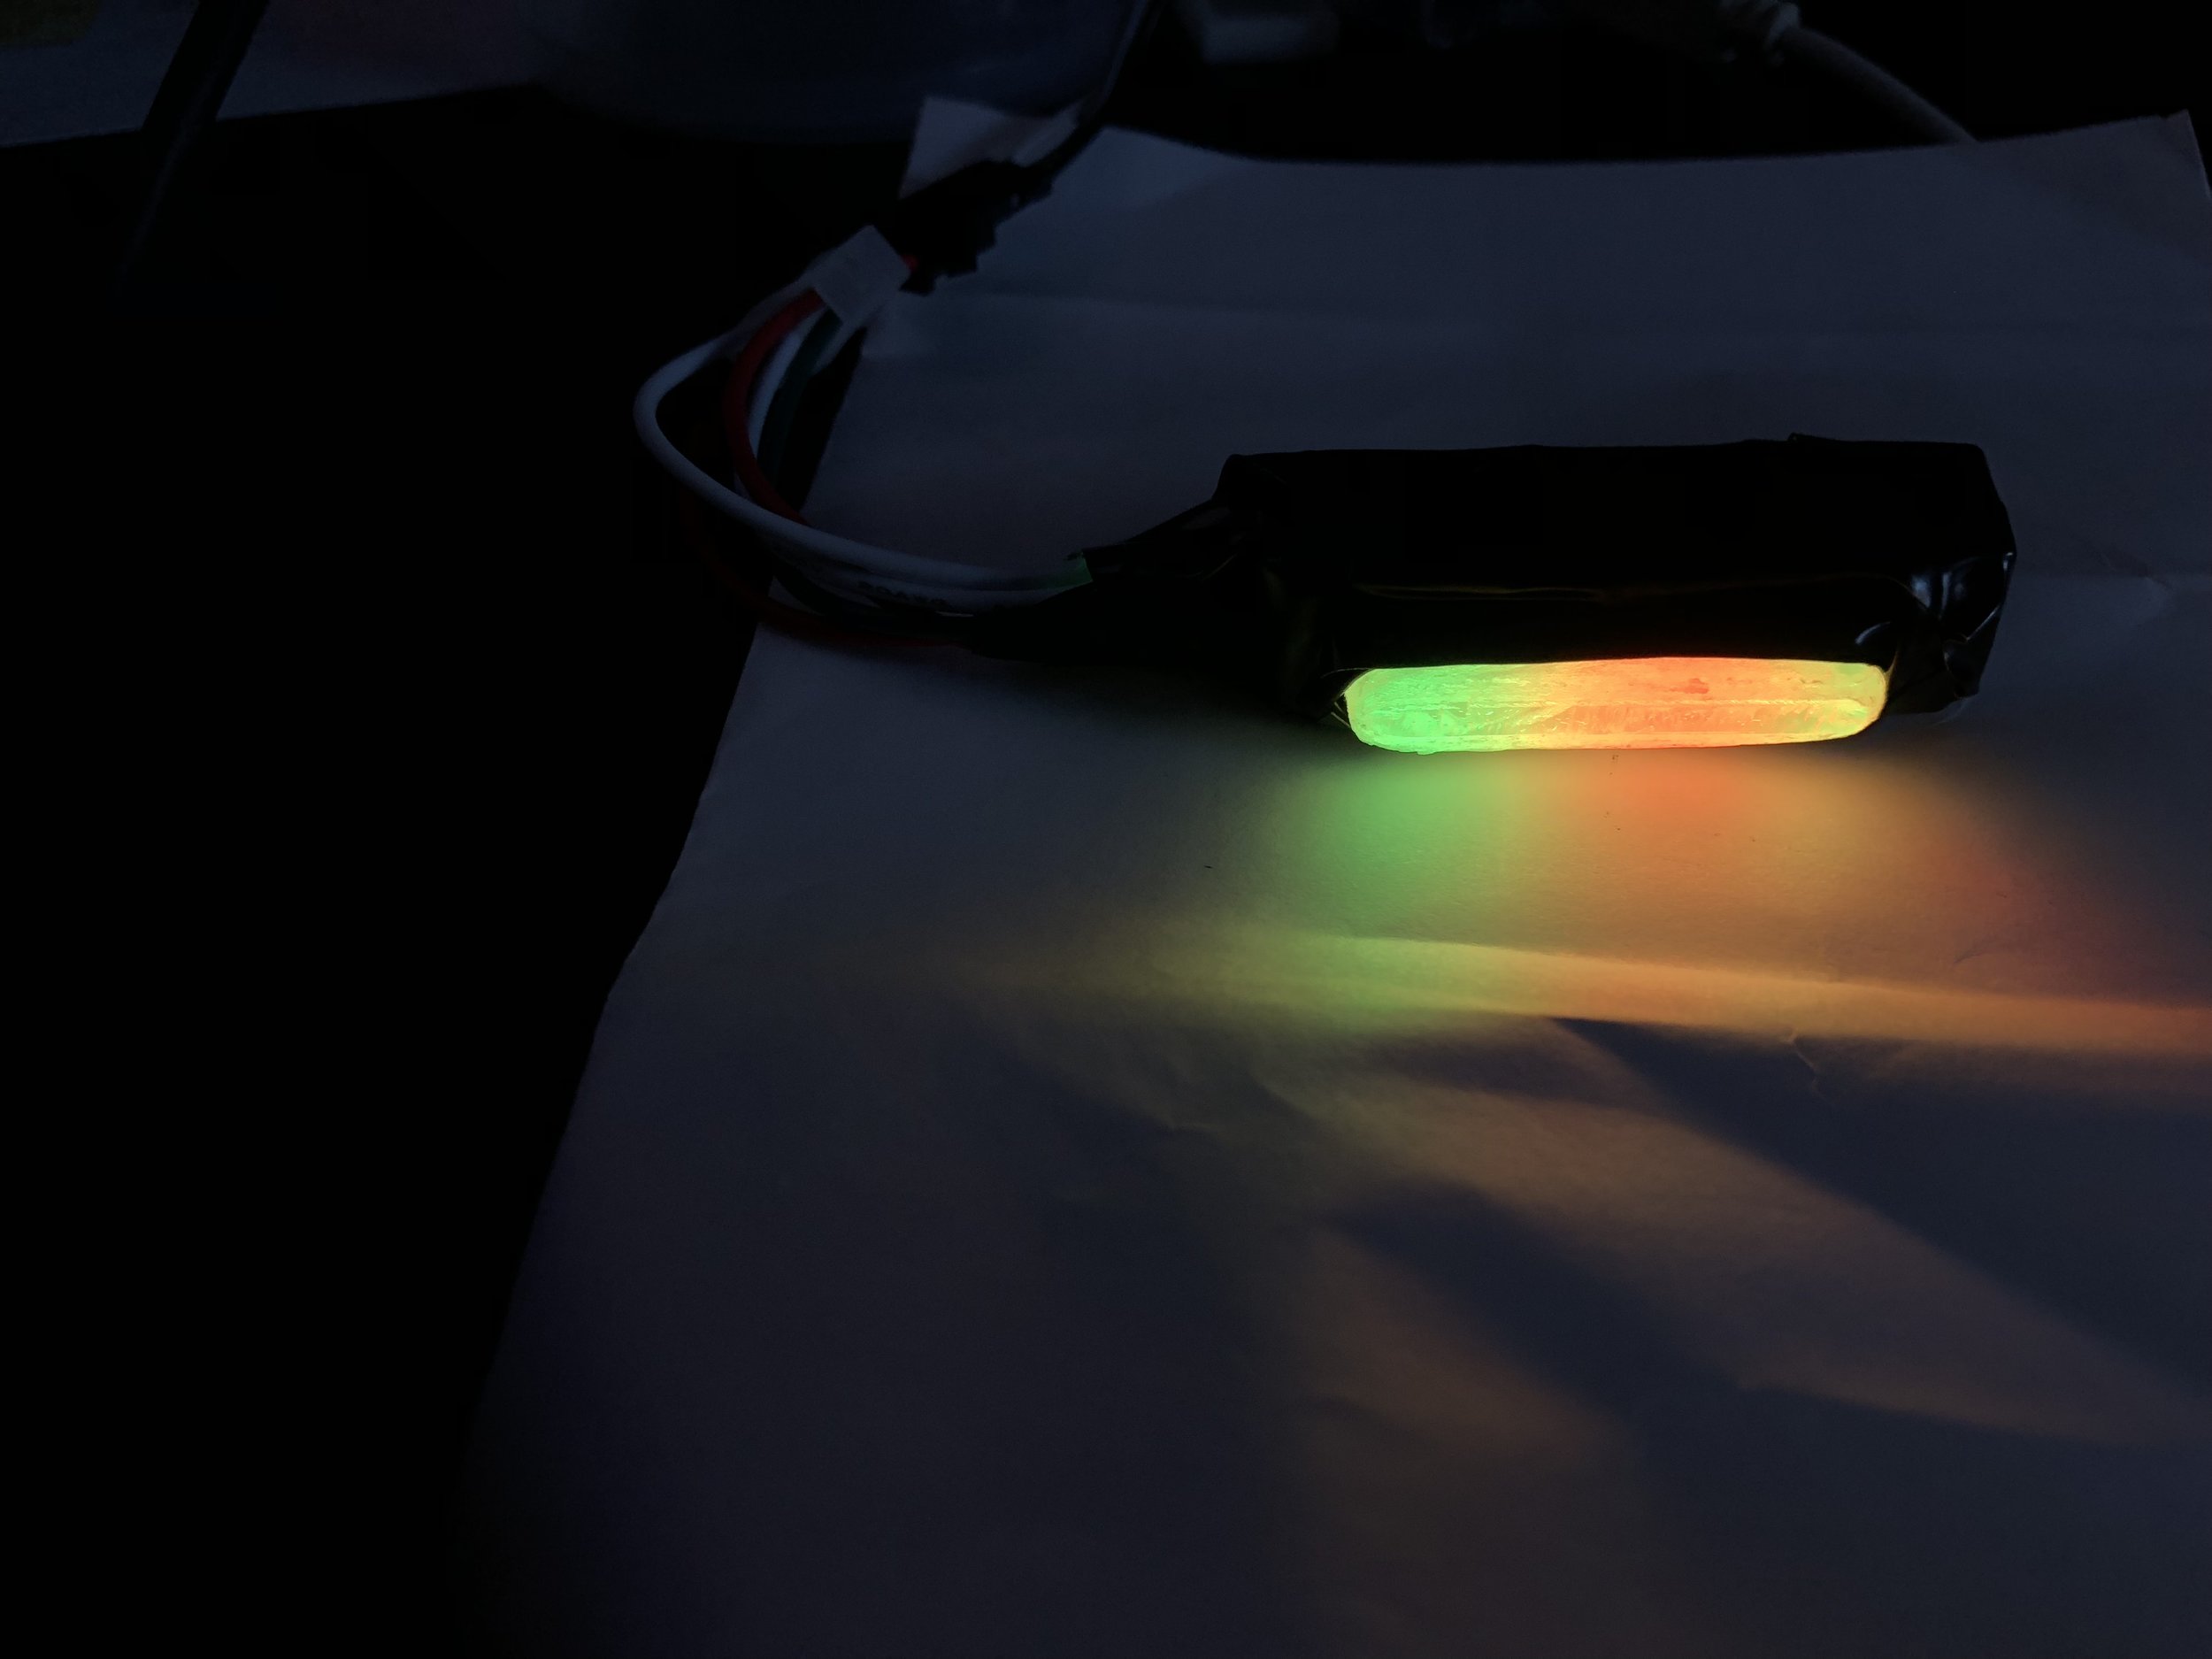
The third picture looks pretty much the way I'd like. The first 3 LEDs are green; next 3 are red; last is green again. The yellow is due to the blending of adjacent green/red LEDs. The green and red sections are smooth and uniform, without appearance of discreet LEDs. My iPhone X camera, good as it is, doesn't match the HDR performance of the human eye. I had to reduce brightness to 10% to get that shot, but it looks very much like what the old Mark One Eyeball saw.
A couple of videos, bouncing green then white which is more like a diamond's twinkle should be. I've got some software work ahead of me to make it more twinkly.
Original Machining Concept:
FYI, Here is the original concept, machining the entire surface:

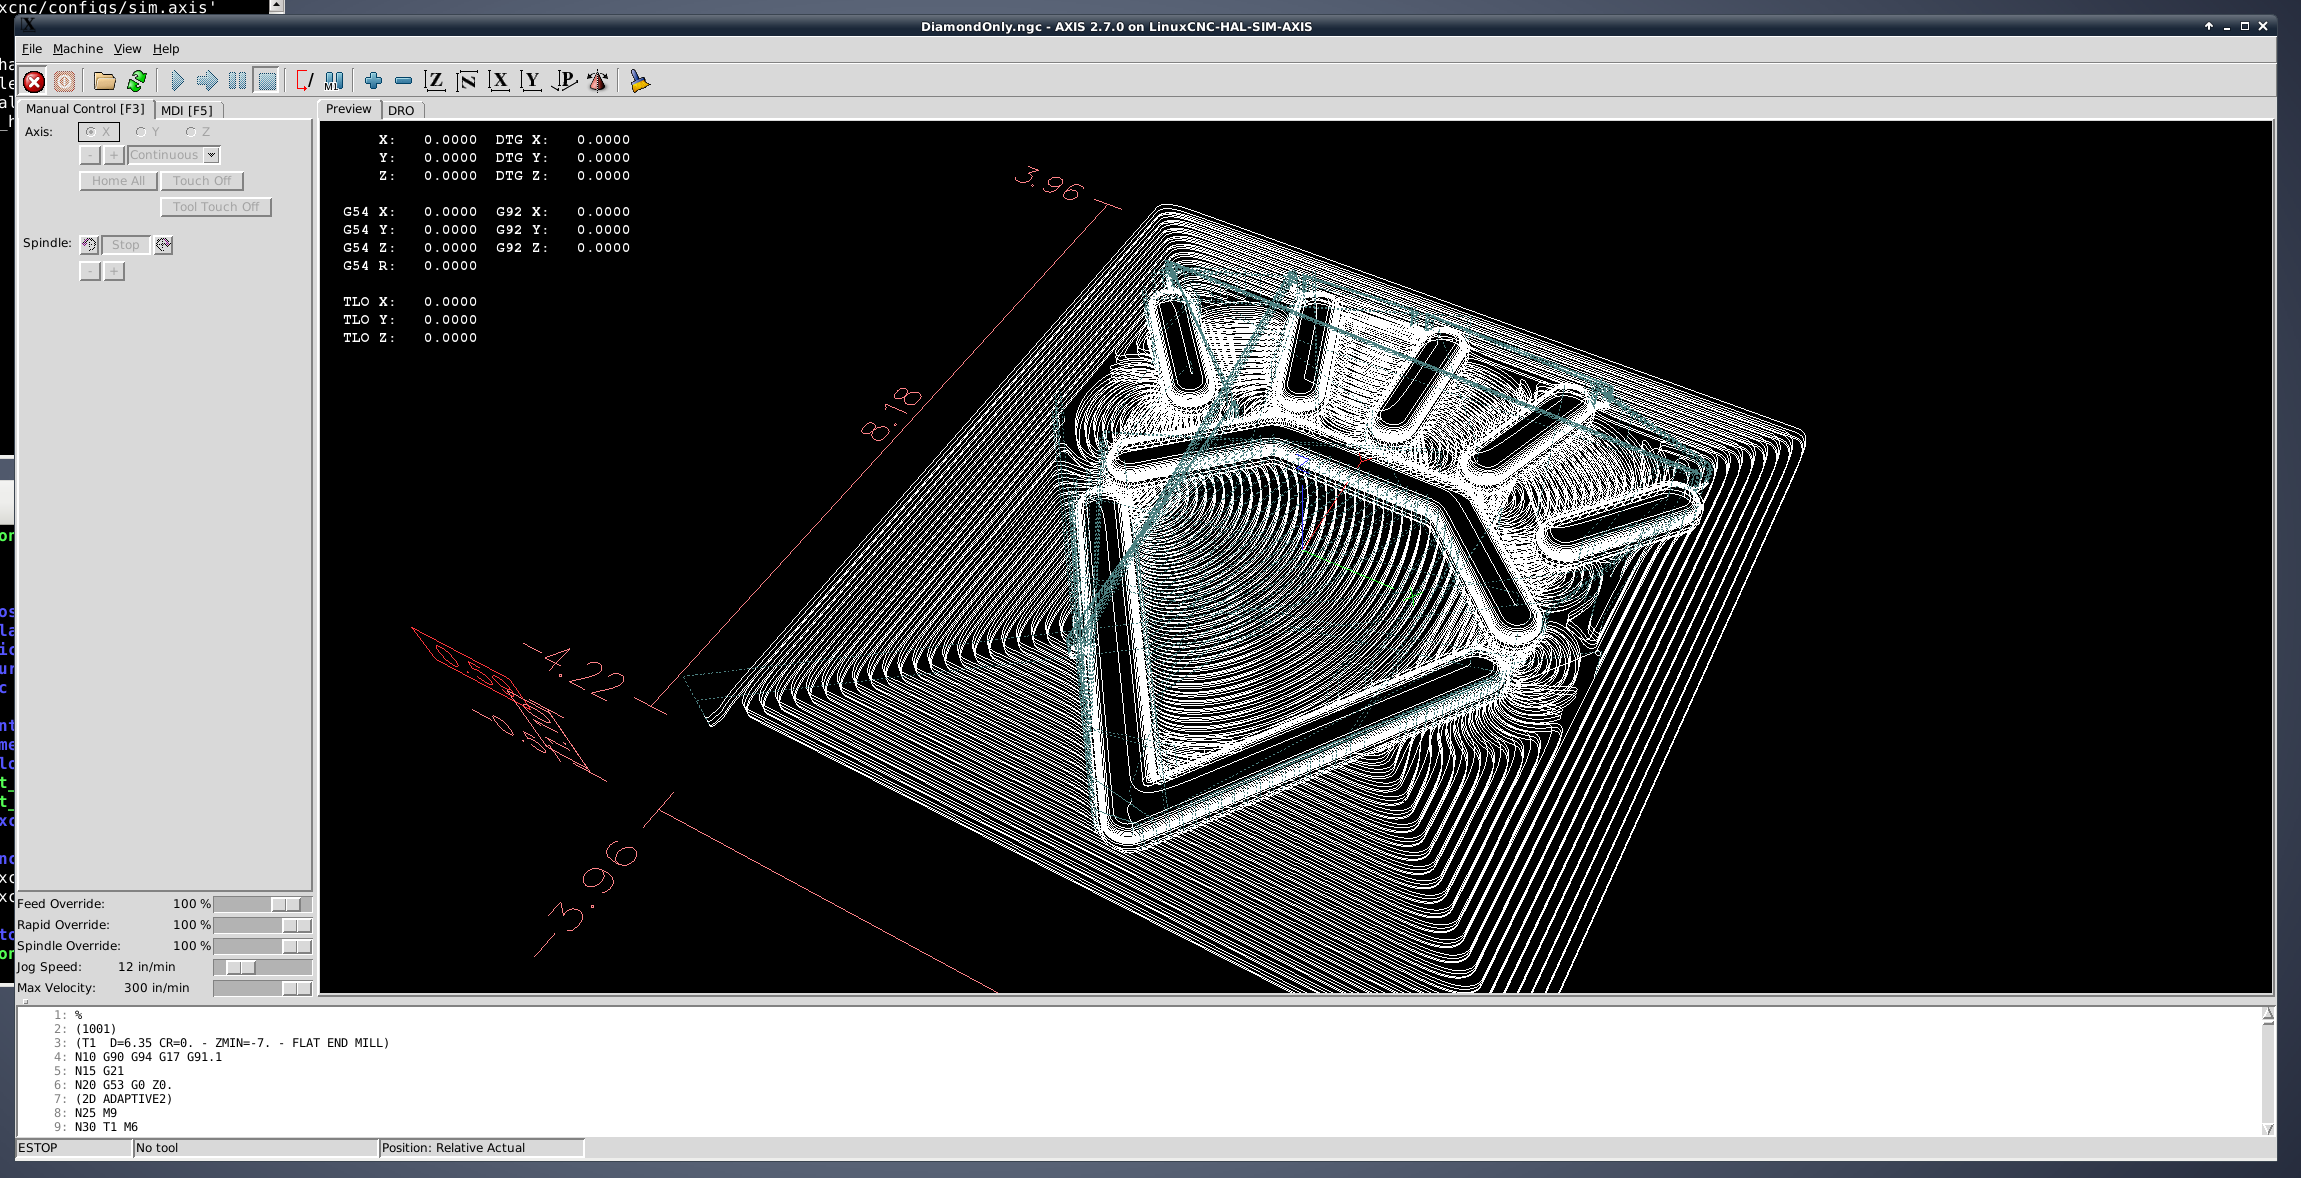
Computer Aided Manufacturing (CAM)
Toolpaths are shown in the CAM software the left, and then again in the machine control software.